Stock locations help you and your staff identify where inventory items are physically located in your restaurant. Moreover, stock locations allow users to perform stock counts on a per-location basis, making it easier to space out inventory counts while also saving time when locating your items.
Accessing and adding stock locations
- Log in to the Inventory module with your Lightspeed credentials.
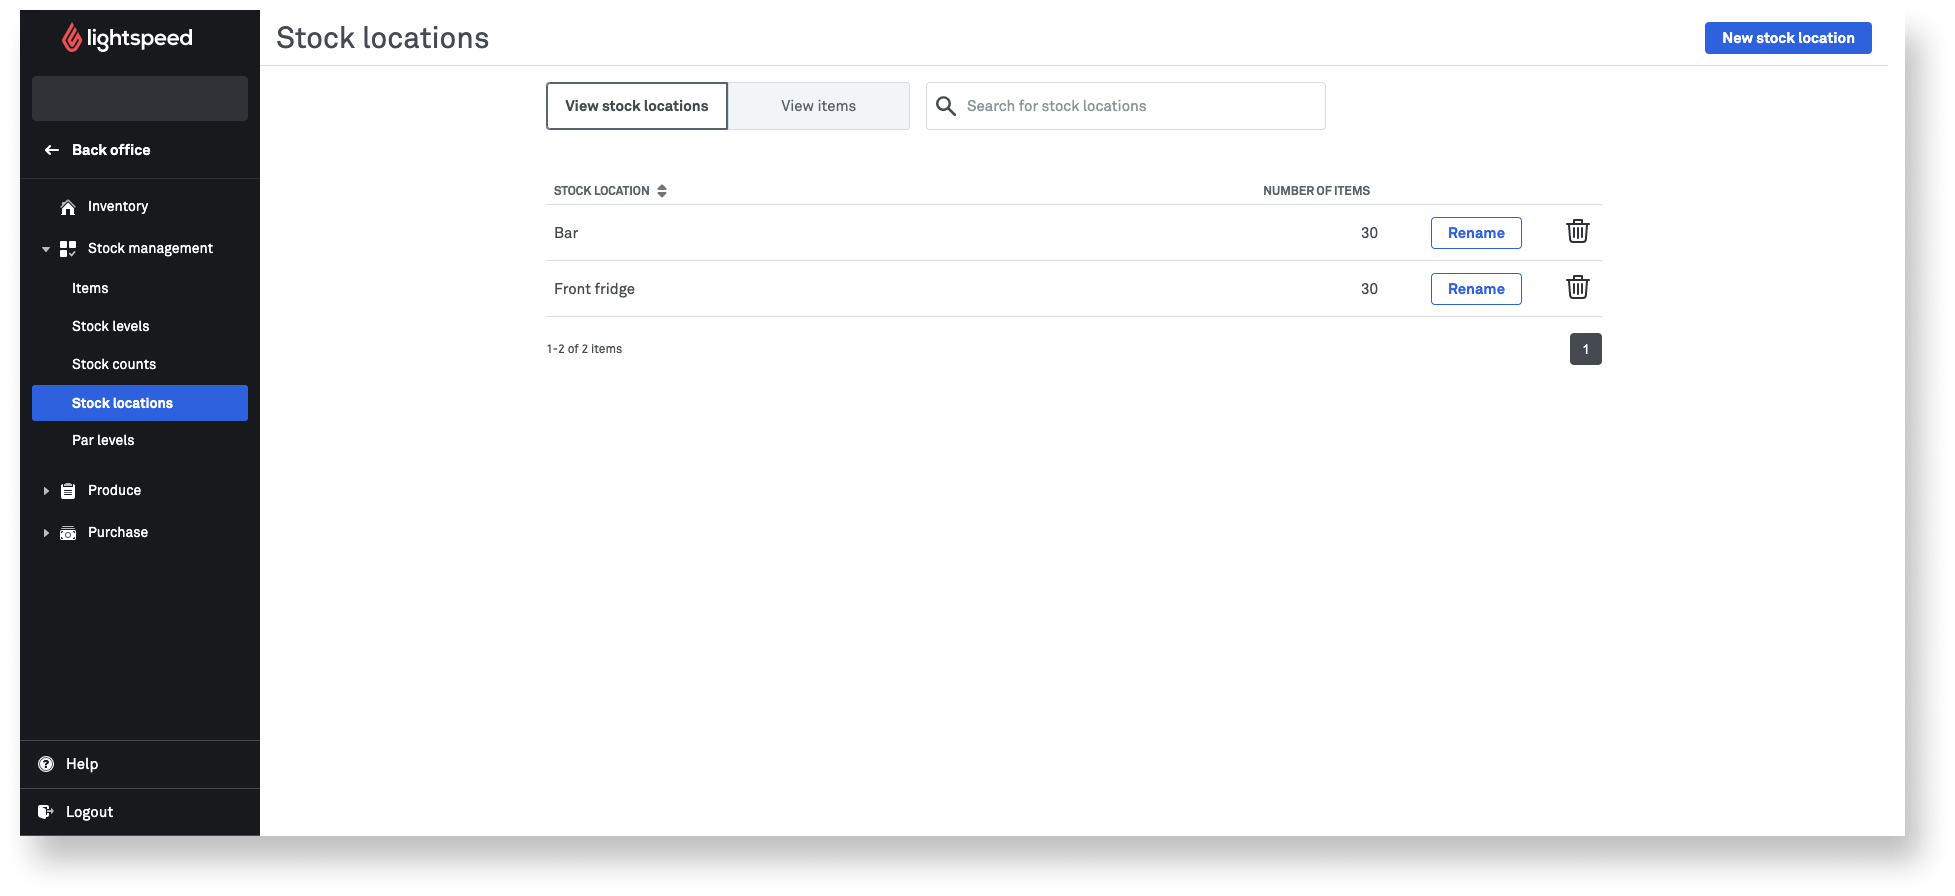
- From the navigation menu, select Stock management > Stock locations.
- Click View stock locations (default) to see a list of your locations.
- Click New stock location.
- Enter a stock location name (e.g., Cellar).
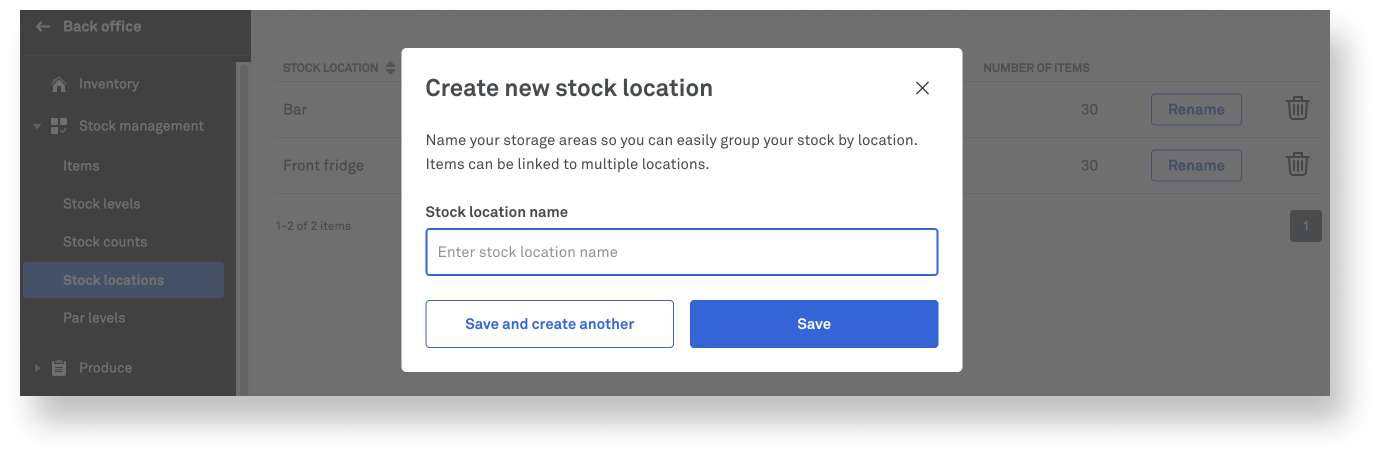
- Click Save to finish, or click Save and create another to add more.
- (Optional) Delete unnecessary stock locations by clicking the trash can beside it.
- (Optional) Change the name of stock locations by clicking Rename.
Linking items to specific locations
- Log in to the Inventory module with your Lightspeed credentials.
- From the navigation menu, select Stock management > Stock locations.
- Click View items to see an overview of all inventory items and the location of those already linked.
- To change the location of a single item, click Edit locations. To edit multiple items, select the checkboxes beside the desired items and click Link to location.
Tip
Select every item on the current page or all items in your inventory by checking the box found in the column header and clicking the caret to select Page or All.

- Select any location to which the item should be linked.
- Click Link locations to items to save and finish.
