The Tables tab on the bottom navigation bar of the POS leads to the Floor plan (or Tables screen). The Tables screen provides an overview of all occupied and available tables, which user owns the transaction, and order status. If your configuration includes multiple floor plans, you can switch between views from the top left corner of the screen. Users can select an available table to begin an order or open an occupied table to open the corresponding order.
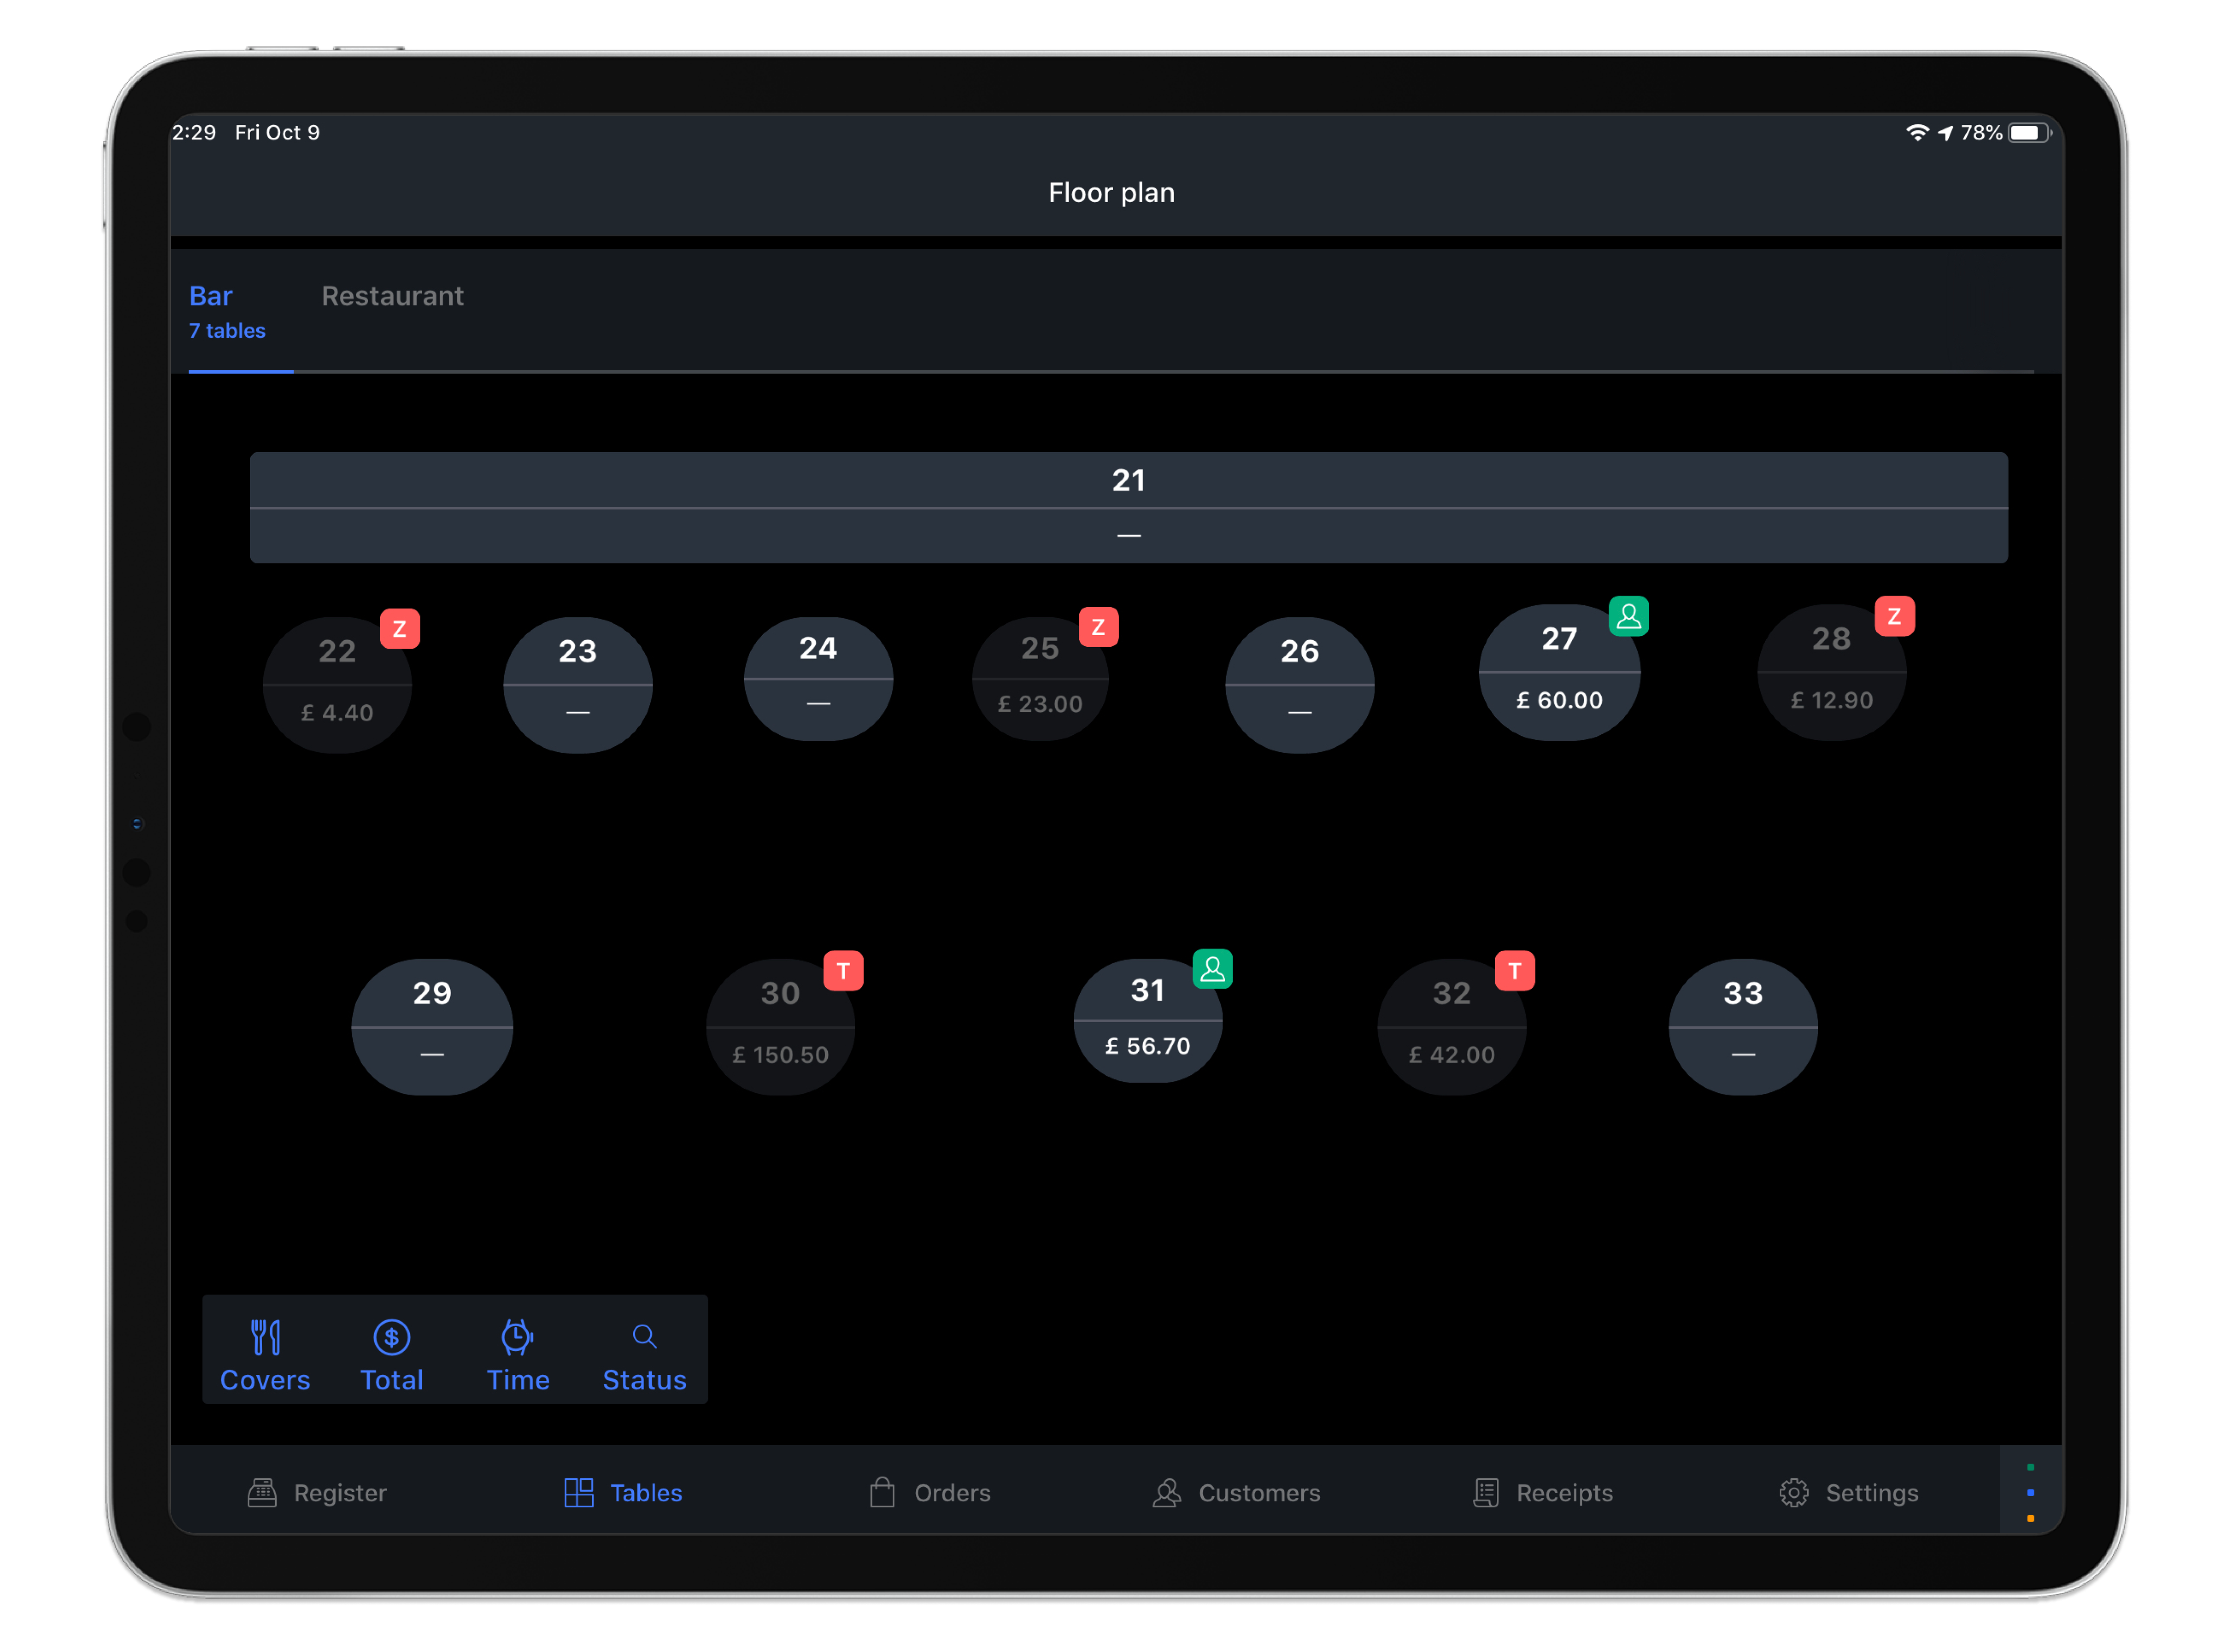
User tags
Each user can view their own occupied tables by looking for a green symbol above the attached tables. All other tables will display either an orange tag or red tag and the first letter of the other user responsible for that table.
| Tag | Description |
| Green tag | The occupied table belongs to the logged-in user. |
| Orange tag | The occupied table belongs to another user, but the logged-in user can still access the order. |
| Red tag | The occupied table belongs to another user and the logged-in user does not have permission to open the order. |
Table status
The Floor plan also provides different insights into the occupied tables. Tap one of the icons on the bottom left corner to display the corresponding information:
| Button | Description |
| Covers |
Selecting Covers will display how many separate orders are on occupied tables. |
| Total | Selecting Total will display the total order value on occupied tables. |
| Time | Selecting Time will display how long the order has been open on occupied tables. A band of red color may display under the time amount to indicate if the order has been open for a while. If the order was recently opened, no color will display beneath the time elapsed. |
| Status | Selecting Status will display the coursing status of occupied tables, either by displaying which course the table is waiting for or currently enjoying. |
Once you have selected a table, you can proceed to process the order in Table Service mode. This means you can select order items by seat or course, add order items and return later for payment, or split the check. For more information on ordering in this mode, see Adding orders in Table Service mode.
What's next?
Learn more about navigating the ordering screens. See Understanding the Register screen.
Learn more about pay-at-order workflows. See Adding orders in Direct Sale mode.
Learn more about Table Service workflows. See Adding orders in Table Service mode.
Learn more about the various ways a user can edit an order. See Editing and reviewing orders.
Learn more about searching for orders on the POS. See Understanding the Orders list.