Batches offer a central hub for managing ongoing and scheduled prep recipes and their costs. Additionally, inventory will update automatically as recipe ingredients are turned into finished products. To schedule and track batches, you first need to create a "Made in batches" recipe for each item that is made in a batch.
Creating batches
Add and start a batch whenever you need to produce a recipe.
- Log in to the Inventory module with your Lightspeed credentials.
- From the navigation menu, select Produce > Batches.
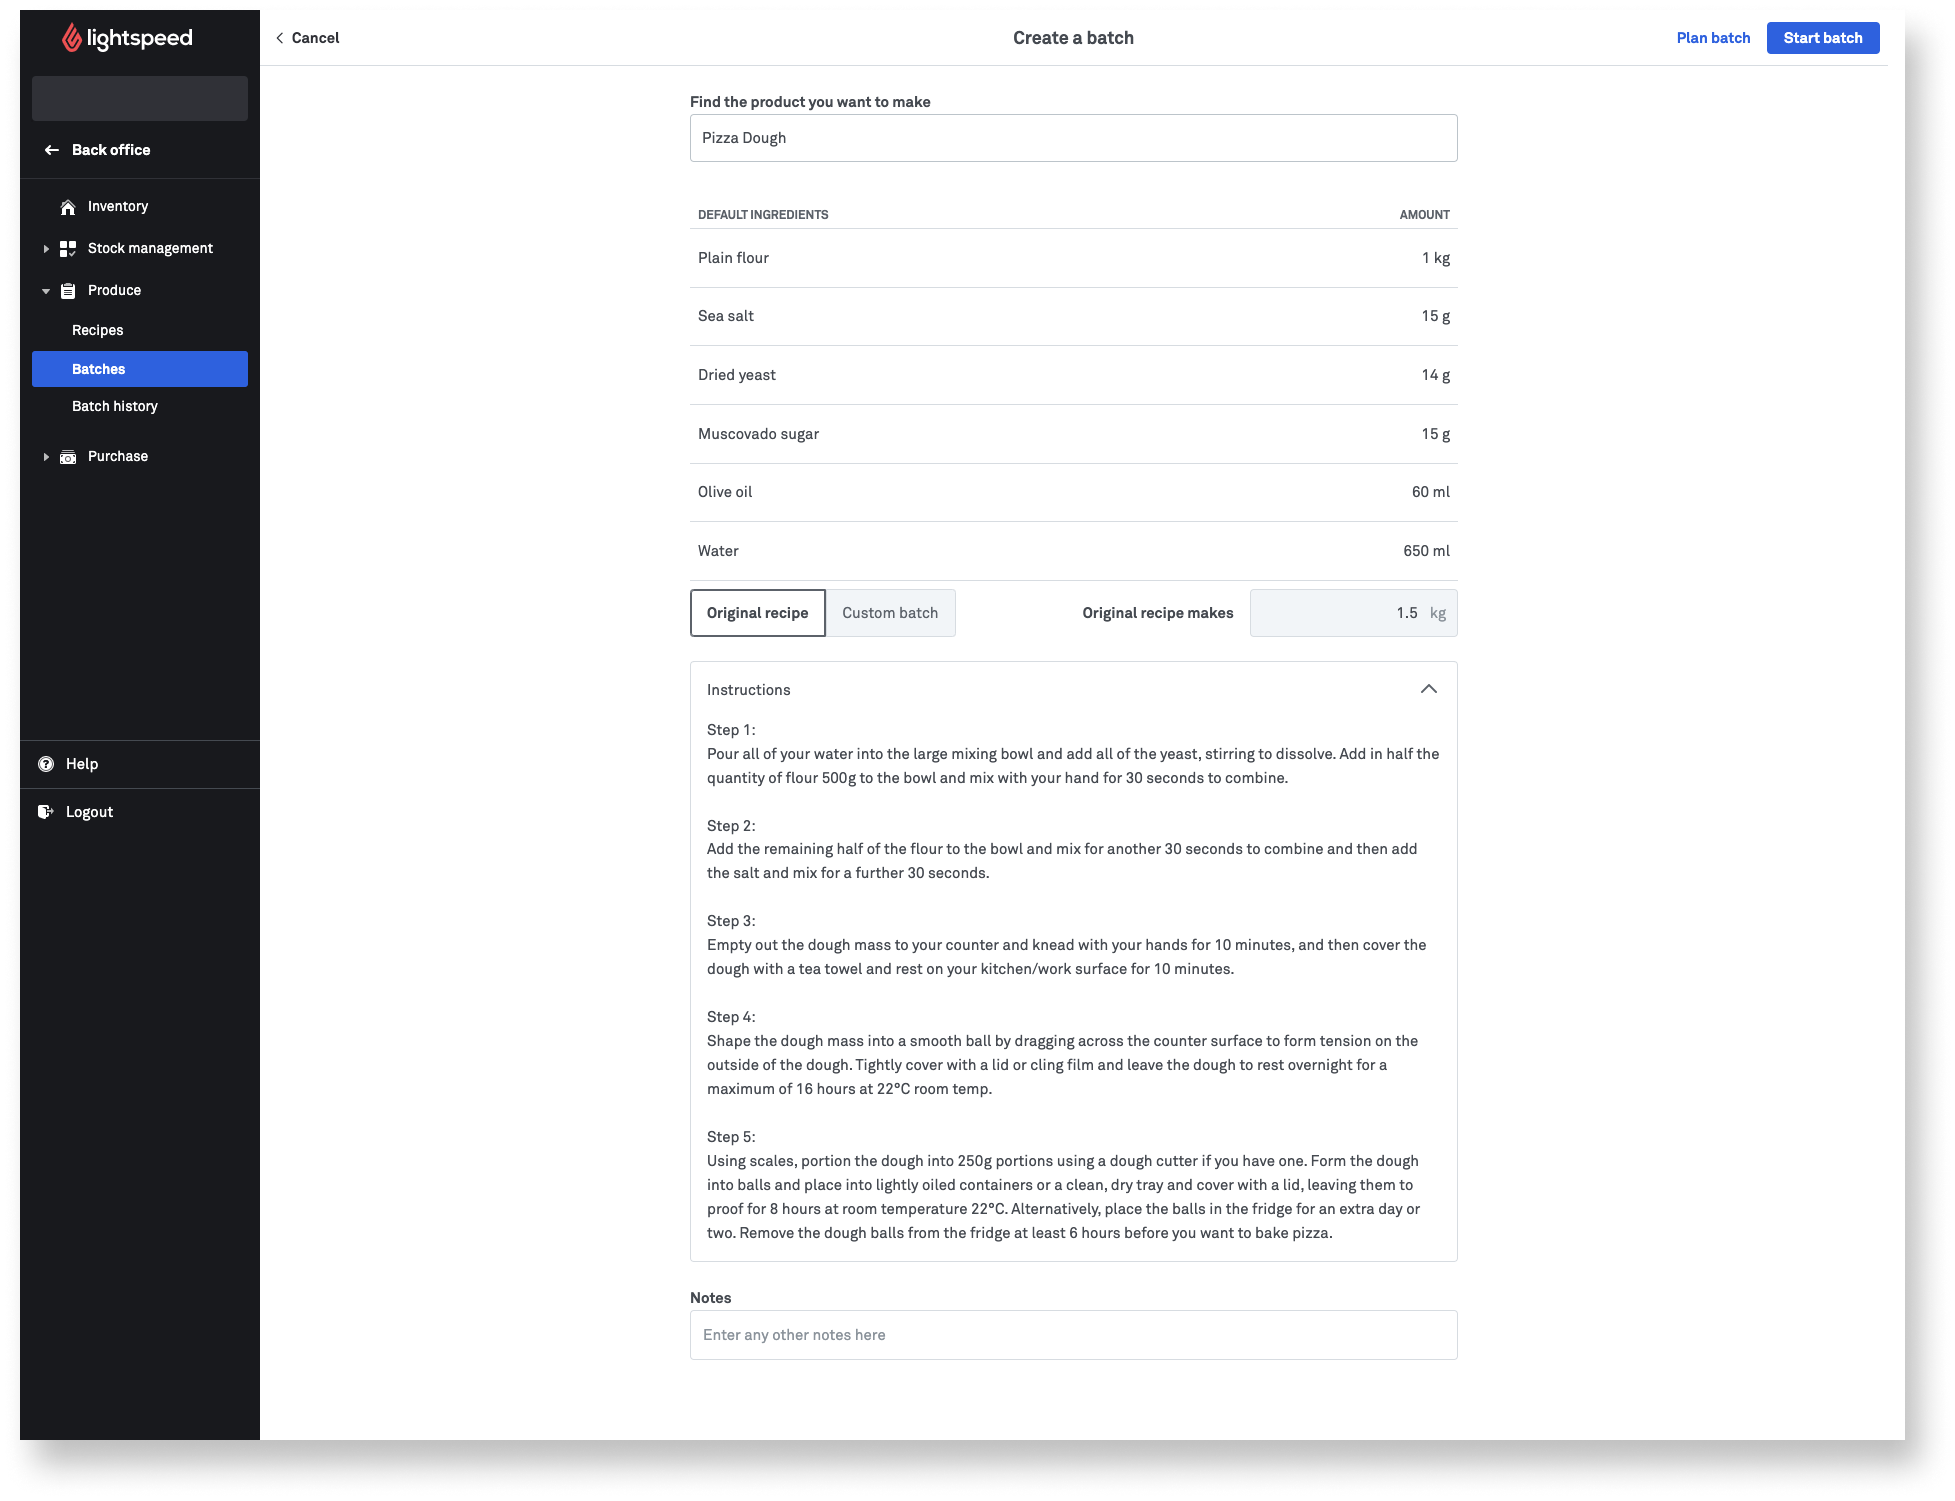
- Click Create new batch.
- Enter the name of the item for which you would like to start a batch and select it from the drop-down menu. The default ingredients from the Recipe will appear.
- (Optional) To change the number of units you want to make, click the Custom batch tab and enter the desired number of units in the Batch makes field. The required ingredients will update accordingly.
- (Optional) Click Instructions to see any production steps added to the recipe.
- (Optional) Add batch notes in the Notes field.
- Click Start batch. The batch will be displayed under the In progress tab on the Batches page.
- See Finishing batches to learn how to finish the batch after it is created.
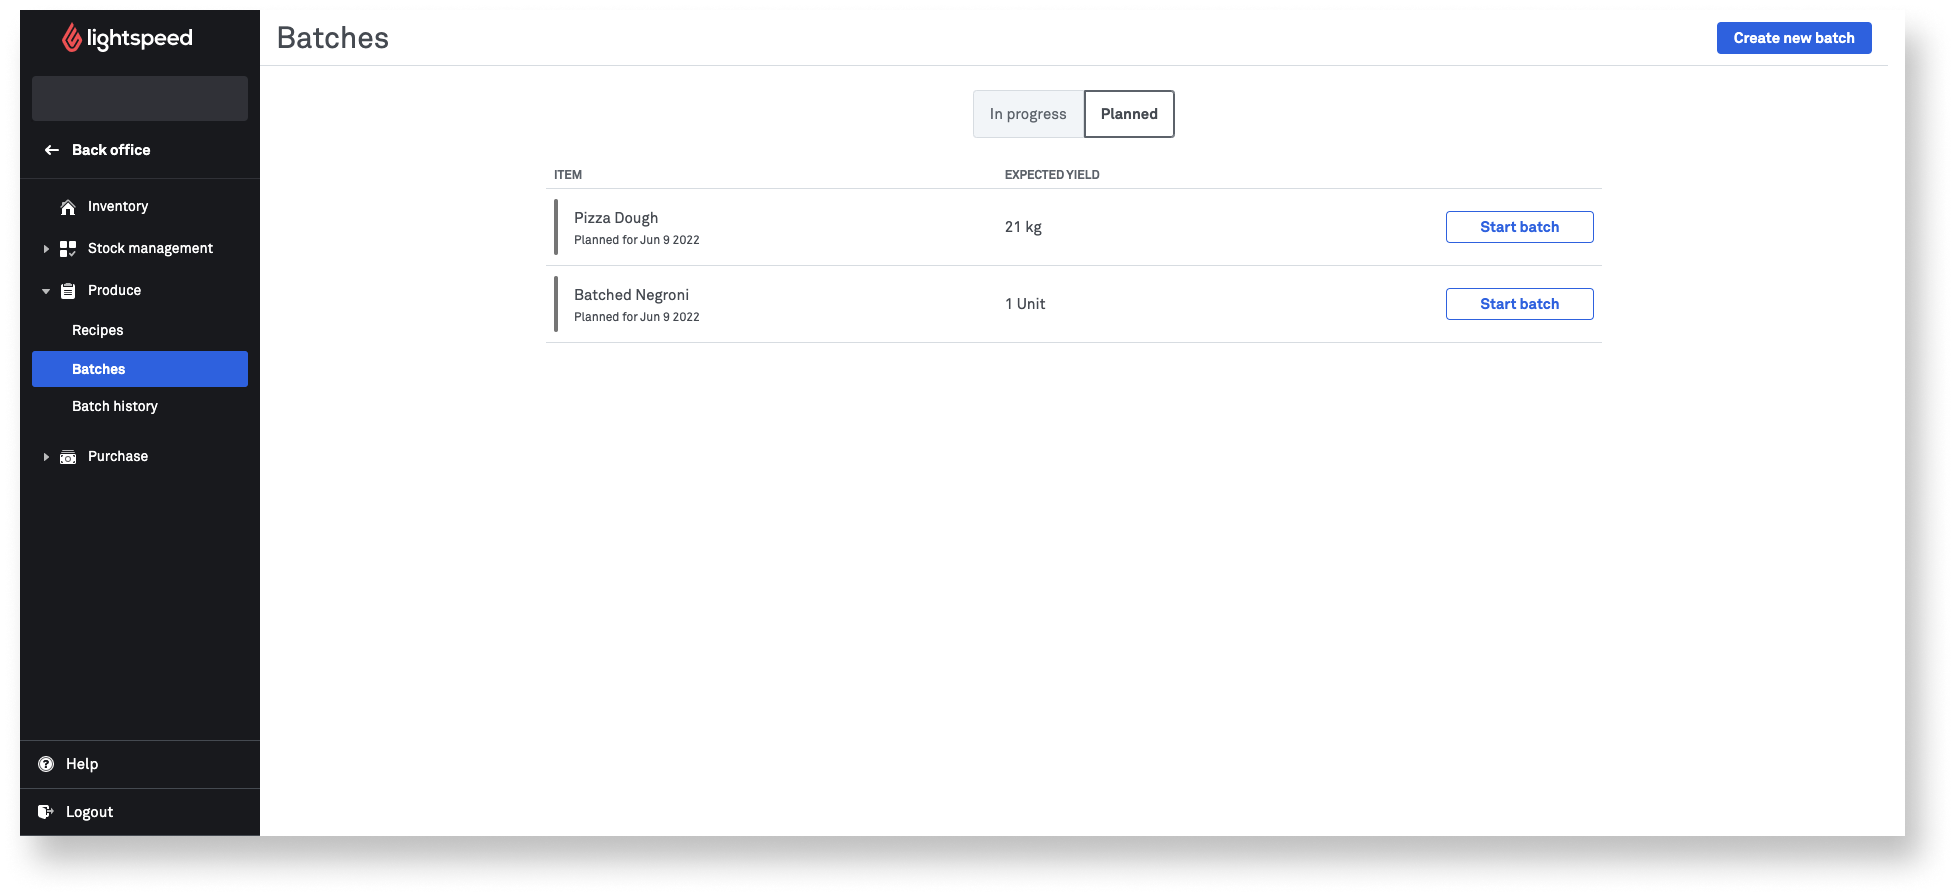
Planning batches
Plan a batch to make sure that anyone accessing the Produce page will know that the batch needs to be started on the indicated day.
- Log in to the Inventory module with your Lightspeed credentials.
- From the navigation menu, select Produce > Batches.
- Click Create new batch.
- Enter the name of the item for which you would like to start a batch, and select the item from the drop-down menu. The default ingredients from the Recipe will appear.
- (Optional) To change the number of expected batch units, click the Custom batch tab and enter the desired number of units in the Original recipe makes field. The required ingredients will update accordingly.
- (Optional) Add batch notes in the Notes field.
- Click Plan batch.
- On the calendar that appears, select the date that this batch should be made.
- Click Plan batch, and the batch will appear in Produce > Batches > Planned.
- See Finishing batches to learn how to start the batch and finish it after it is made.
Deleting batches
Delete planned or in-progress batches that are no longer needed. Deleting a batch cannot be undone.
- Log in to the Inventory module with your Lightspeed credentials.
- From the navigation menu, select Produce > Batches.
- Choose the In Progress (default) or Planned tab.
- Select the batch you wish to delete
- Click the trash can icon to delete the batch.
- Click Delete batch to confirm.
Finishing batches
Once a batch has been physically prepared, you can finish the batch in the Back Office to remove it from the In progress tab and update stock levels. The ingredients used in the batch are automatically deducted and updated from the stock levels page.
- Log in to the Inventory module with your Lightspeed credentials.
- From the navigation menu, select Produce > Batches.
- Select the In progress tab.
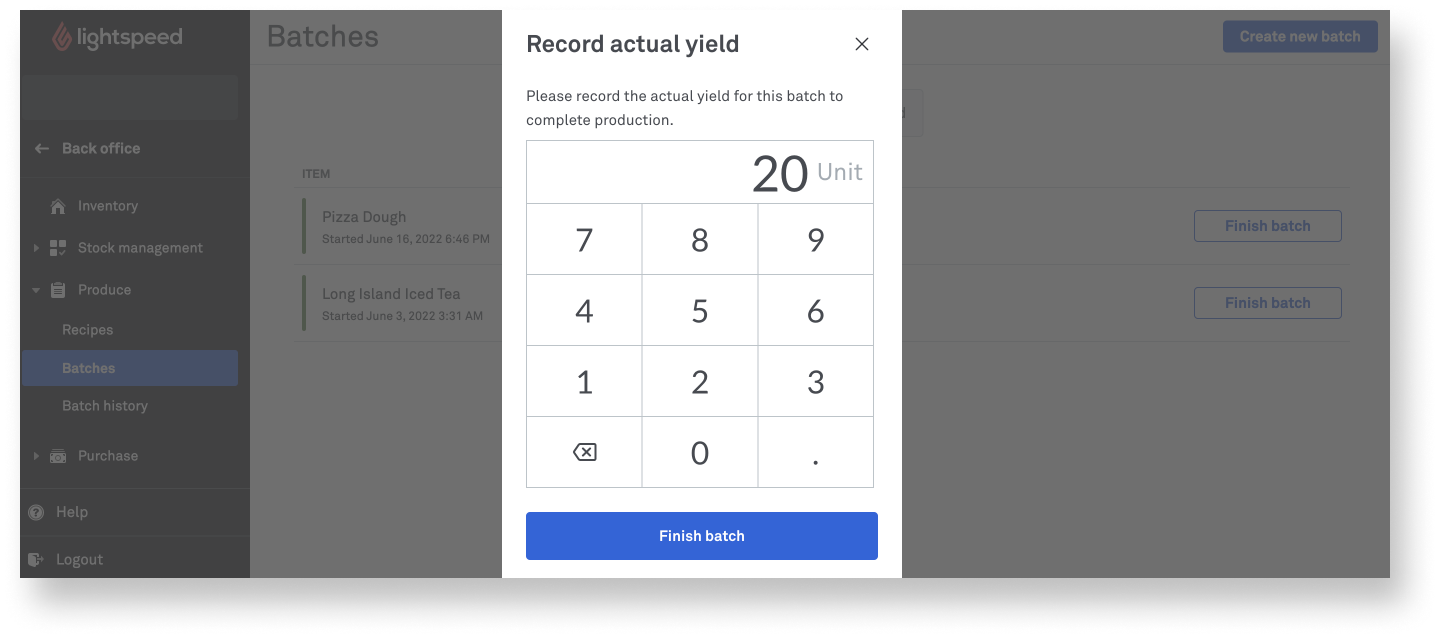
- Next to the batch to be finished, click Finish batch.
- Enter the number of Units produced and click Finish batch.
What's next?
Learn about viewing and assessing Batch history.