Create purchase orders (PO) within the Inventory module to quickly assemble a list of items your restaurant needs and send them directly to your vendor via email to place an order. By creating purchase orders, you can manage and track placed orders and update your inventory levels when items are received. Once an order has been started, you can save it as a draft by clicking the back arrow in the top left.
If you order items from your suppliers through other means, such as a supplier website, you can still receive those items into inventory by creating a PO and opting to skip the email. Alternatively, you can adjust the supplier's Ordering profile to indicate that they are To update stock levels only and skip the email prompt entirely.
Creating a new purchase order
- Log in to the Inventory module with your Lightspeed credentials.
- From the navigation menu, select Purchase > Purchase order.
- Click New purchase order.
- Look for the supplier who will receive the order.
- (Optional) If the supplier information is wrong, click Edit within the supplier’s row, update the name or email, and click Save supplier.
- (Optional) If the intended supplier is not listed, click New supplier, enter their name and email, and click Save supplier and create order.
- Click the name supplier who will receive the order.
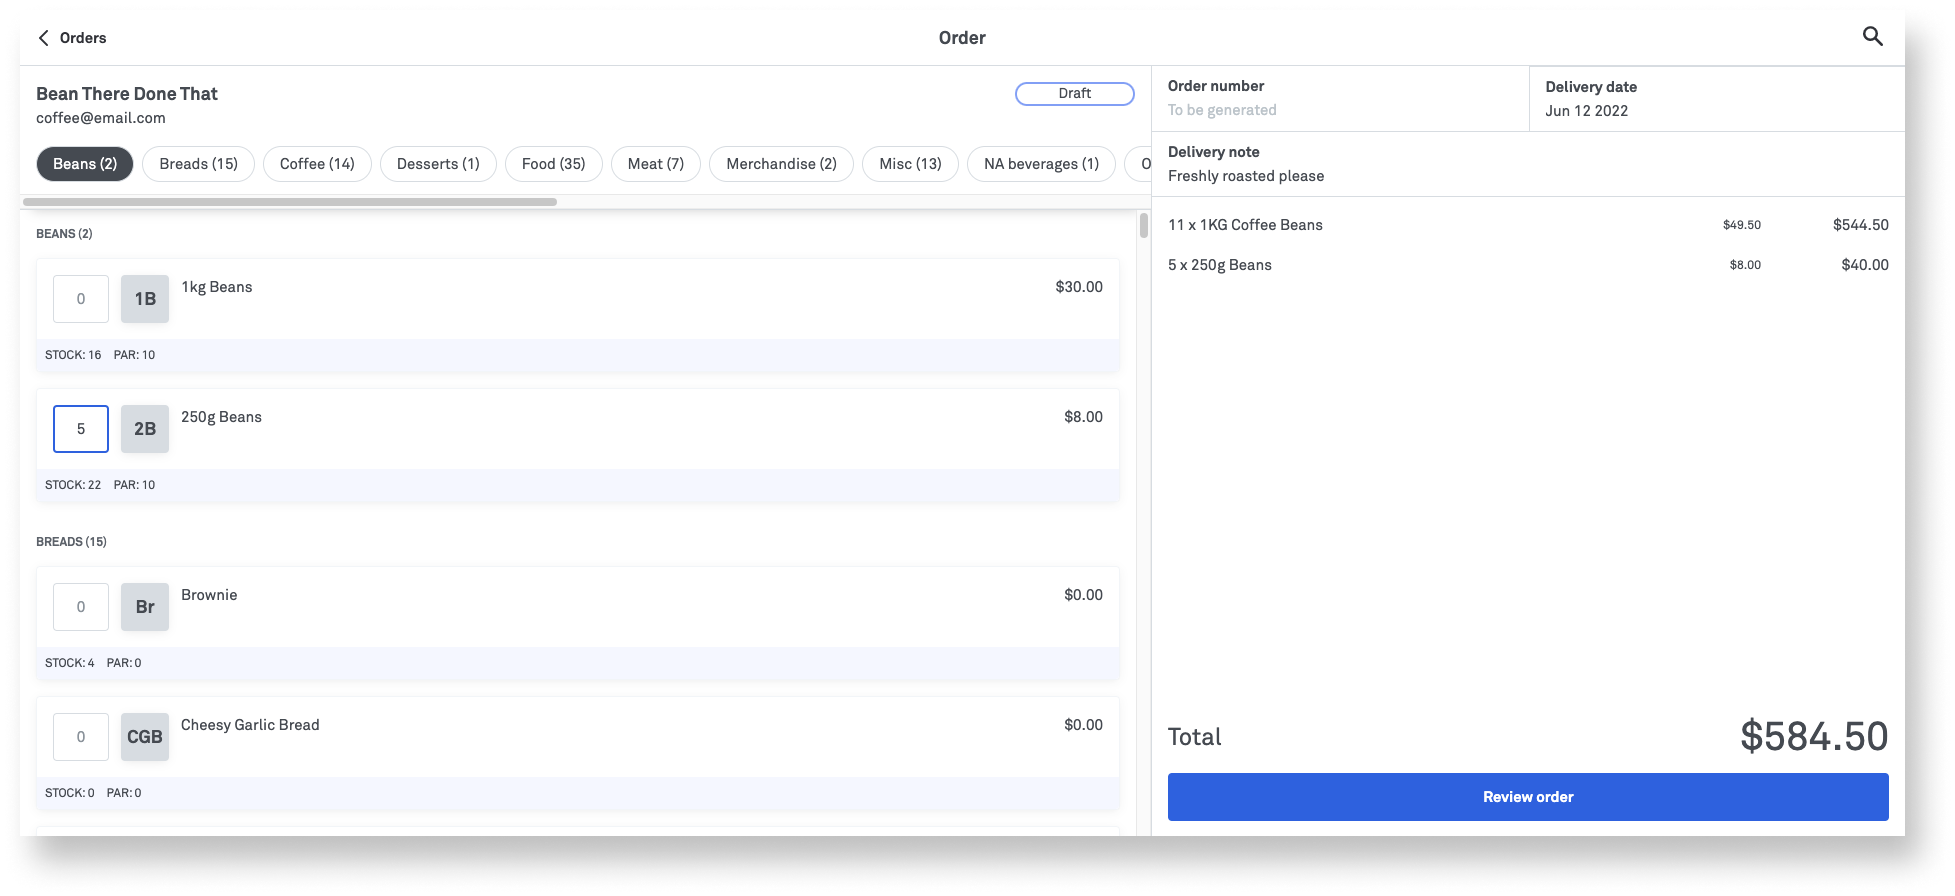
- (Optional) Filter items by accounting groups to find a specific category of item to add to the order.
- (Optional) Click the magnifying glass icon to search for items by name.
- Click the item name to add 1 unit to the order (repeat as needed), or enter the exact number of units to order in the QTY field beside its name.
Note: Stock and Par levels are visible beneath this field, letting you know what needs replenishing and how much to order.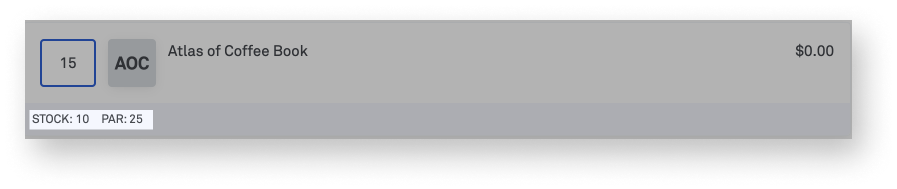
- Set the delivery date by clicking the date on the top right.
- (Optional) Add a delivery note to give the supplier additional information about the order, (e.g., "Please deliver to side doors").
- (Optional) Edit items already added to the order by clicking their name.
- When finished adding items to a purchase order, select Review order.
- Review the purchase order details then click Place order when finished.
- Fill in the Email order information to email the order to the supplier and other relevant parties.
- Click Send email to email the purchase order, or click X to forgo the email if purchase orders are placed through other means (such as a phone call to your supplier).
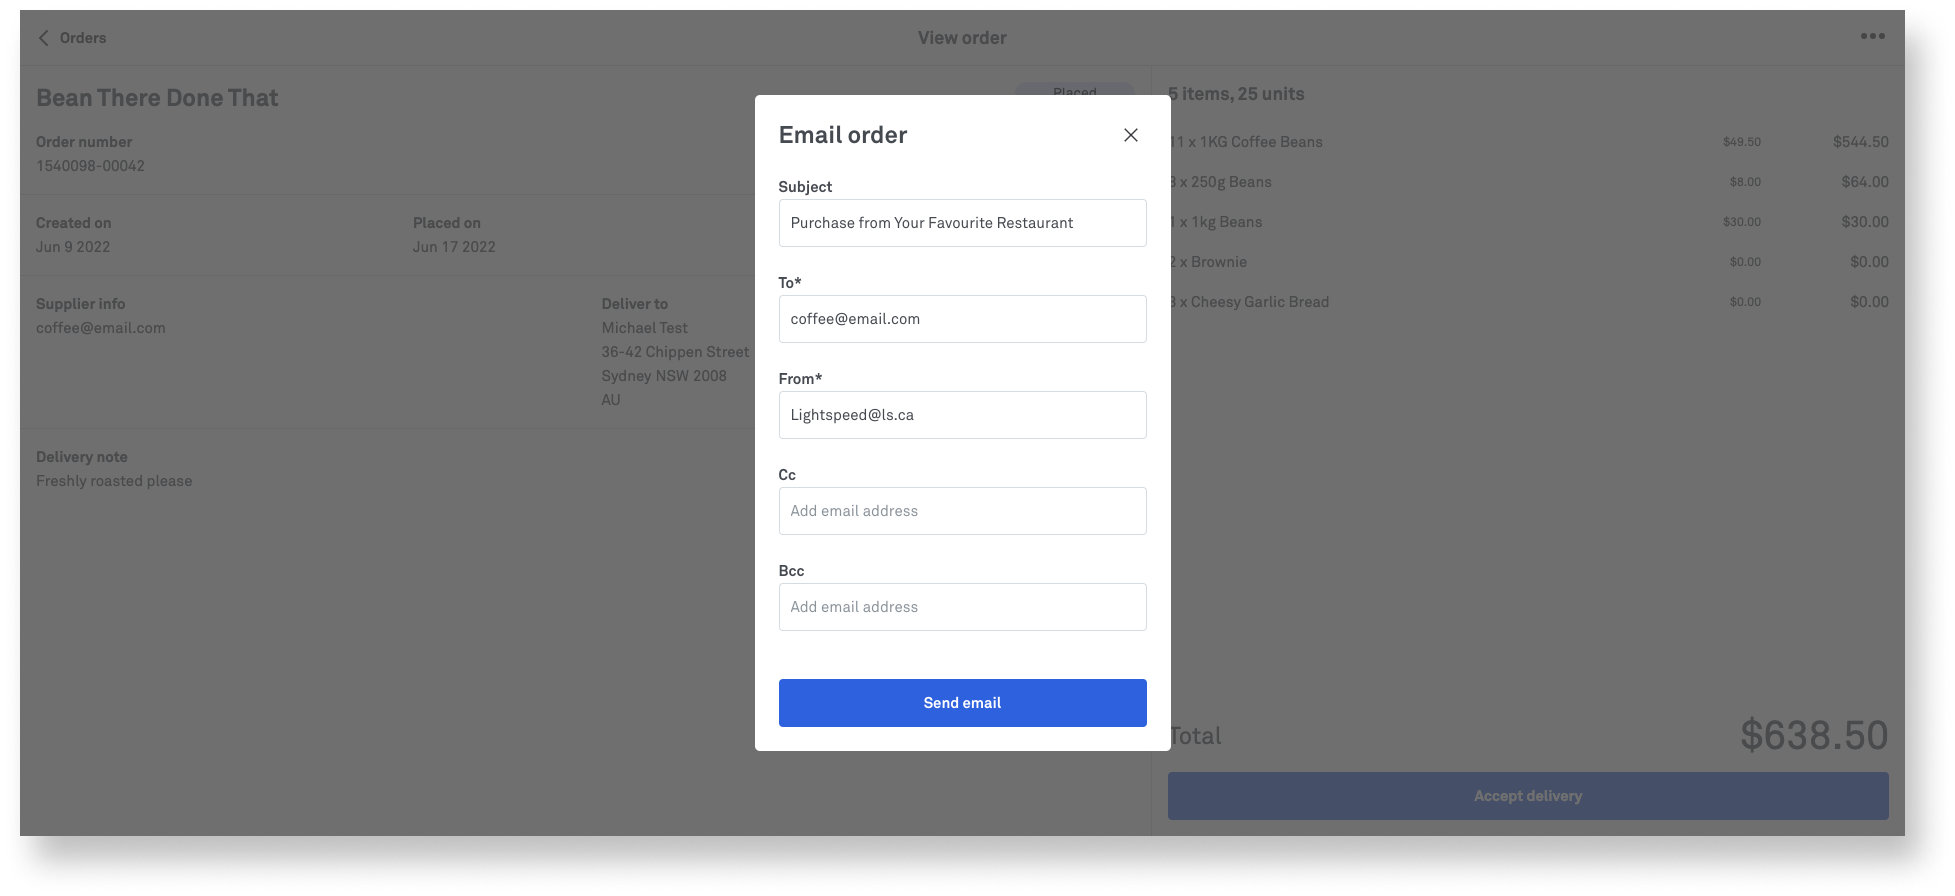
Email order settings
| Setting name | Description |
| To | The purchase order will be sent to this email address. This field is pre-populated with the supplier's email. |
| From | The purchase order will be sent from this email address. This field is pre-populated from the email entered in Back Office for the logged-in user. |
| Cc | A carbon copy of the email will be sent to this email address. |
| Bcc | A blind carbon copy email will be sent to this email address. |
Editing or removing items on a purchase order
Add, edit, or delete items from an existing draft purchase order to modify the order before sending it to a supplier. Only purchase orders with the status Draft can be edited.
- Log in to the Inventory module with your Lightspeed credentials.
- From the navigation menu, select Purchase > Purchase orders.
- Select a draft purchase order from the list.
- To add more items, click the item name to add 1 unit to the order (repeat as needed), or enter the exact number of units in the QTY field beside its name.
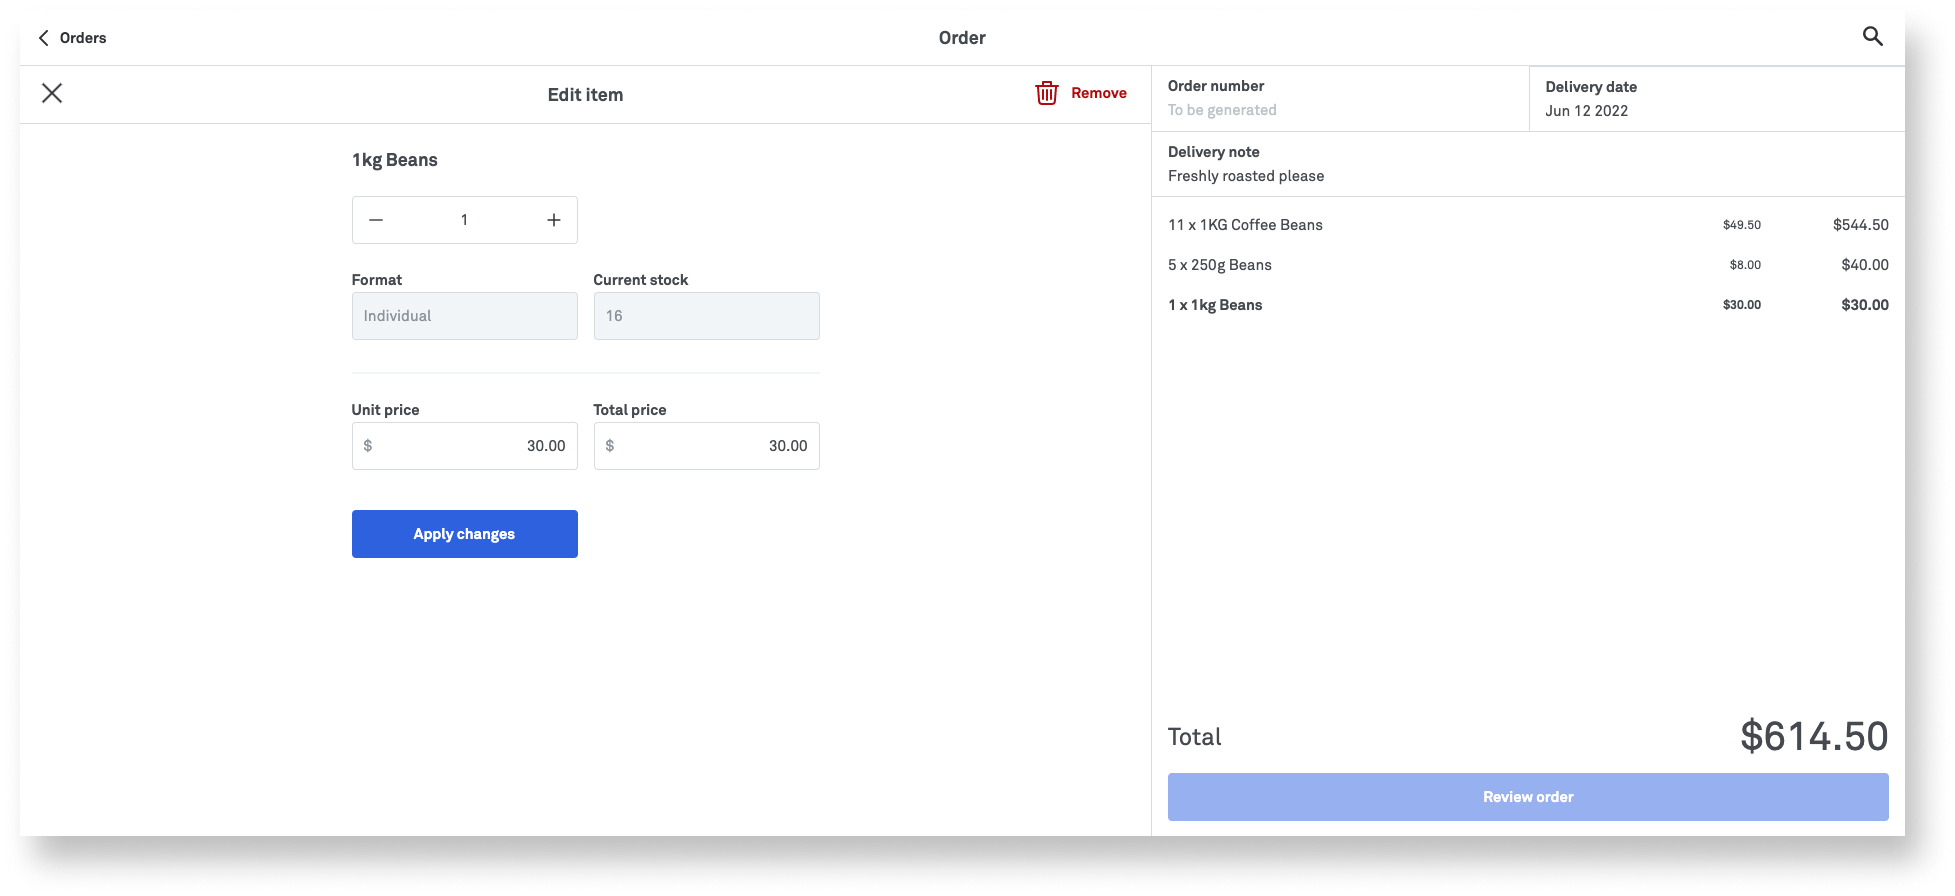
- To edit items, click an item that’s already been added to the order to open an Edit item window.
- (Optional) To delete the item from the order, click Remove.
- Adjust to unit quantity by 1 using the + / - buttons, or type the exact number of units to order in the available field.
- Change the Unit price or Total price as needed. Note: Changing one field will update the other: Total price = Unit price x Quantity.
- Click Apply changes to finish editing.
What's next?
Learn how to Receive, manage, and delete purchase orders.