Mithilfe von Lagerorten können Sie und Ihre Mitarbeiter feststellen, wo sich die Artikel in Ihrem Restaurant tatsächlich befinden. Darüber hinaus ermöglichen Lagerorte die Durchführung von Bestandszählungen je Standort, was die Aufteilung der Bestandszählungen erleichtert und gleichzeitig Zeit beim Auffinden Ihrer Artikel spart.
Lagerorte abrufen und hinzufügen
- Melden Sie sich mit Ihren Lightspeed-Zugangsdaten im Inventory-Modul an.
- Wählen Sie im Navigationsmenü die Option Lagerverwaltung > Lagerorte.
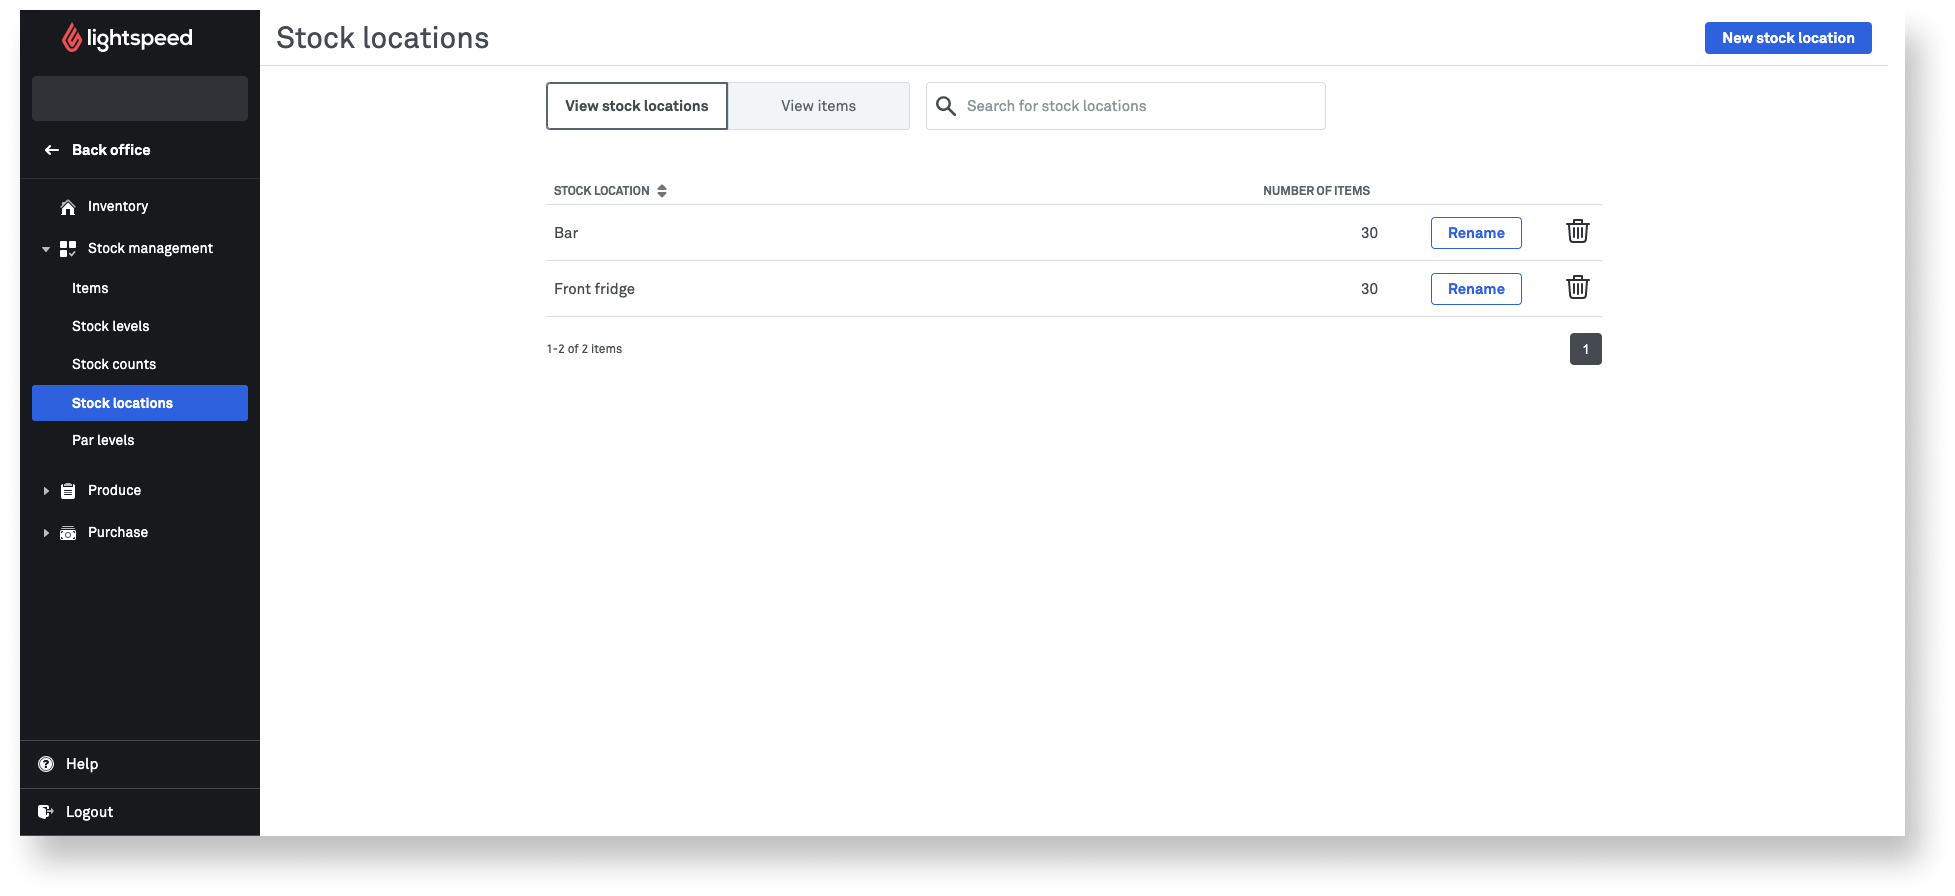
- Klicken Sie auf Lagerstandorte anzeigen (Standard), um eine Liste Ihrer Standorte anzuzeigen.
- Klicken Sie auf Neuer Lagerort.
- Geben Sie einen Namen für den Lagerort ein (beispielsweise „Keller“).
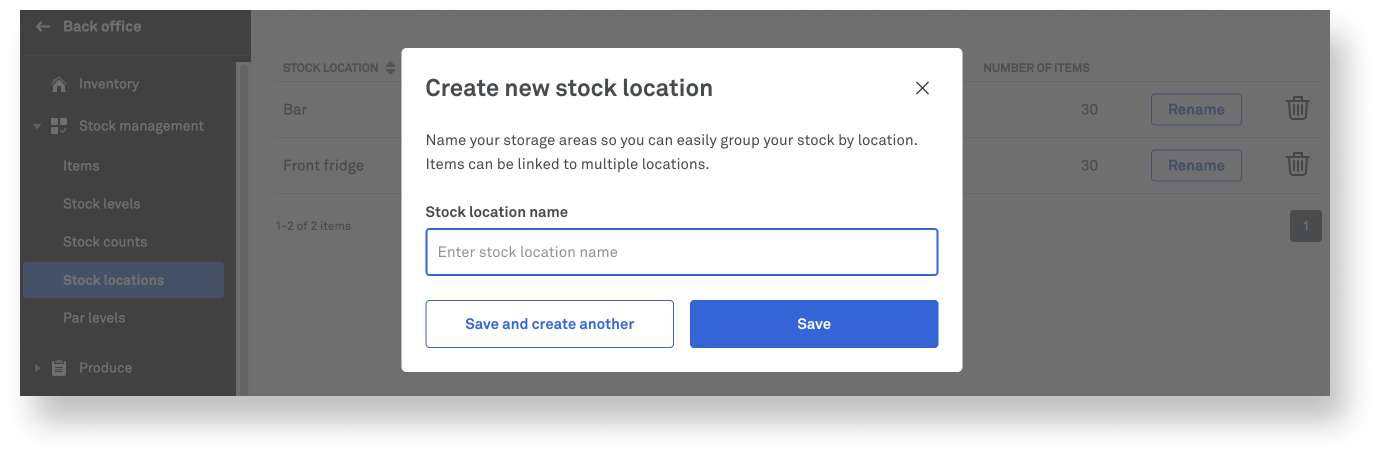
- Klicken Sie auf Speichern, um den Vorgang zu beenden, oder klicken Sie auf Speichern und weitere erstellen, um weitere hinzuzufügen.
- (Optional) Löschen Sie nicht benötigte Lagerorte, indem Sie auf den Mülleimer daneben klicken.
- (Optional) Ändern Sie den Namen von Lagerorten, indem Sie auf Umbenennen klicken.
Artikel mit bestimmten Lagerorten verknüpfen
- Melden Sie sich mit Ihren Lightspeed-Zugangsdaten im Inventory-Modul an.
- Wählen Sie im Navigationsmenü die Option Lagerverwaltung > Lagerorte.
- Klicken Sie auf Artikel anzeigen, um eine Übersicht über alle Artikel im Bestand und den Standort der bereits verknüpften Artikel zu erhalten.
- Um den Standort eines einzelnen Artikels zu ändern, klicken Sie auf Lagerorte bearbeiten. Um mehrere Artikel zu bearbeiten, aktivieren Sie die Kontrollkästchen neben den gewünschten Artikeln und klicken Sie auf Mit Lagerort verknüpfen.
Tipp
Wählen Sie jeden Artikel auf der aktuellen Seite oder alle Artikel in Ihrem Bestand aus, indem Sie das Kästchen in der Spaltenüberschrift markieren und auf das Caret-Zeichen klicken, um Seite oder Alle auszuwählen.

- Wählen Sie einen Lagerort aus, mit dem der Artikel verknüpft werden soll.
- Klicken Sie auf Lagerorte mit Artikeln verknüpfen
