A printing profile includes the settings that control whether a printer will print copies of receipts or production tickets, or whether another printer should be used as a backup printer. To learn more, see Adding printing profiles.
If ever needed, you can always edit or delete a printing profile from the Back Office.
Editing a printing profile
- From the navigation bar of the Back Office, go to Configuration > Printing > Printing profiles.
- Click Edit next to the printing profile to be changed.
- Make the desired changes.
- Select Save to apply the changes to the profile.

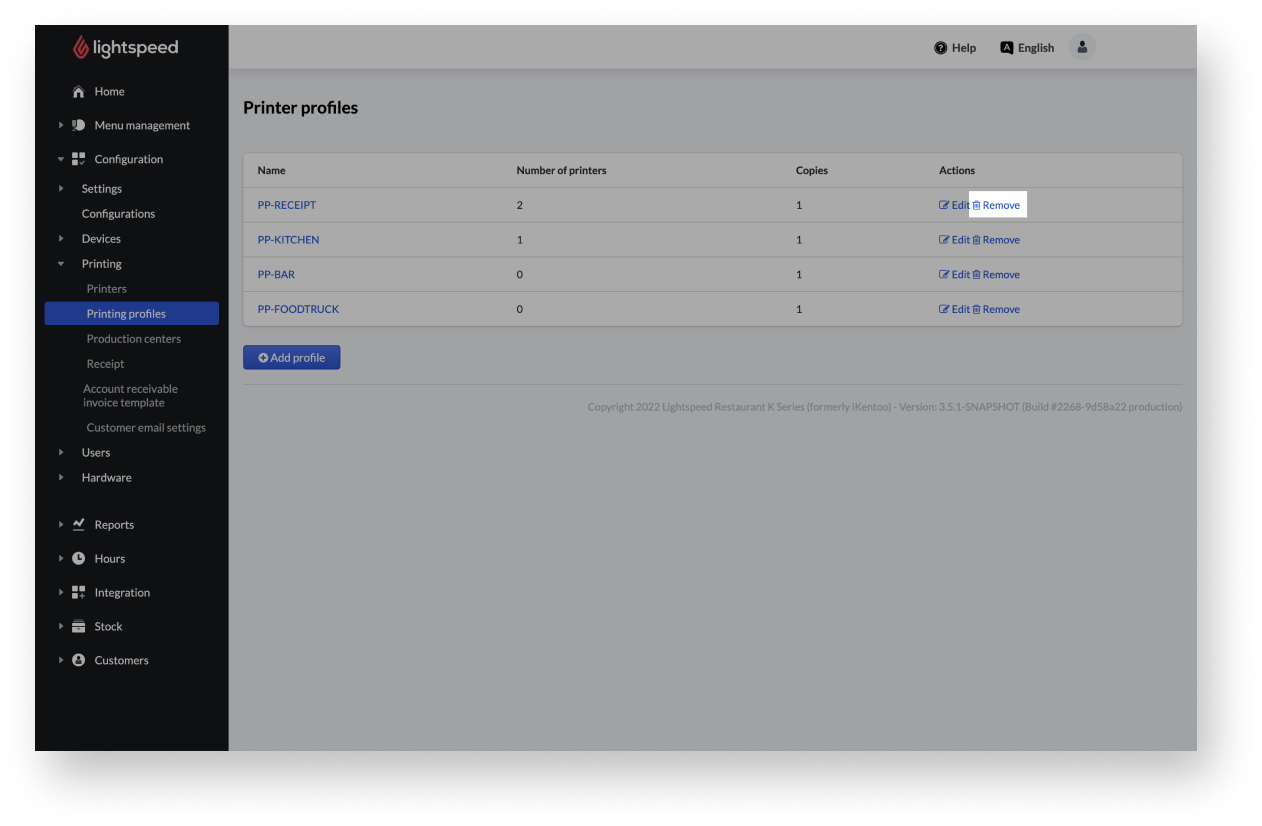
Deleting printing profiles
If you no longer need printing profiles, you can remove them from the Back Office.
When deleting a printing profile, there is no confirmation prompt. Instead, the printing profile is deleted immediately.
- From the main navigation bar of the Back Office, go to Configuration > Printing > Printing profiles.
- Select Remove next to the desired printing profile for deleting it.
What's next?
Now that you've created a printing profile, you'll need to link it to a POS configuration, floor plan, or POS device. See Linking printing profiles.
To learn more about printing, see our tutorials on printers, production centers, and receipt and invoice templates.